How I Disable Legacy Authentication in Microsoft Entra ID (Step-by-Step with Screenshots)
If you manage Microsoft 365 tenants long enough, you’ll notice a common pattern during security reviews:
👉 Sign-ins succeed even when MFA is enabled.
In almost every case I’ve investigated, the root cause was the same — legacy authentication was still allowed.
In this post, I’ll walk you through exactly how I disable legacy authentication in Microsoft Entra ID, using Conditional Access, the same way I do it in real production tenants.
No theory. No fluff. Just practical, proven steps — with screenshots.
What Is Legacy Authentication (Quick Explanation)
Legacy authentication refers to sign-in methods that do not support modern security controls, including:
Multi-Factor Authentication (MFA)
Conditional Access policies
Risk-based sign-ins
Common legacy protocols include:
IMAP
POP
SMTP AUTH
Older Office clients
Basic Auth PowerShell modules
These protocols are heavily targeted because attackers can brute-force passwords without triggering MFA.
Why I Always Disable Legacy Authentication
From my day-to-day work across multiple tenants:
🚨 Most password-spray attacks target legacy auth
🔐 MFA does not protect legacy protocols
📉 There is rarely a valid business reason to keep it enabled
If you’re serious about Zero Trust, this is a non-negotiable control.
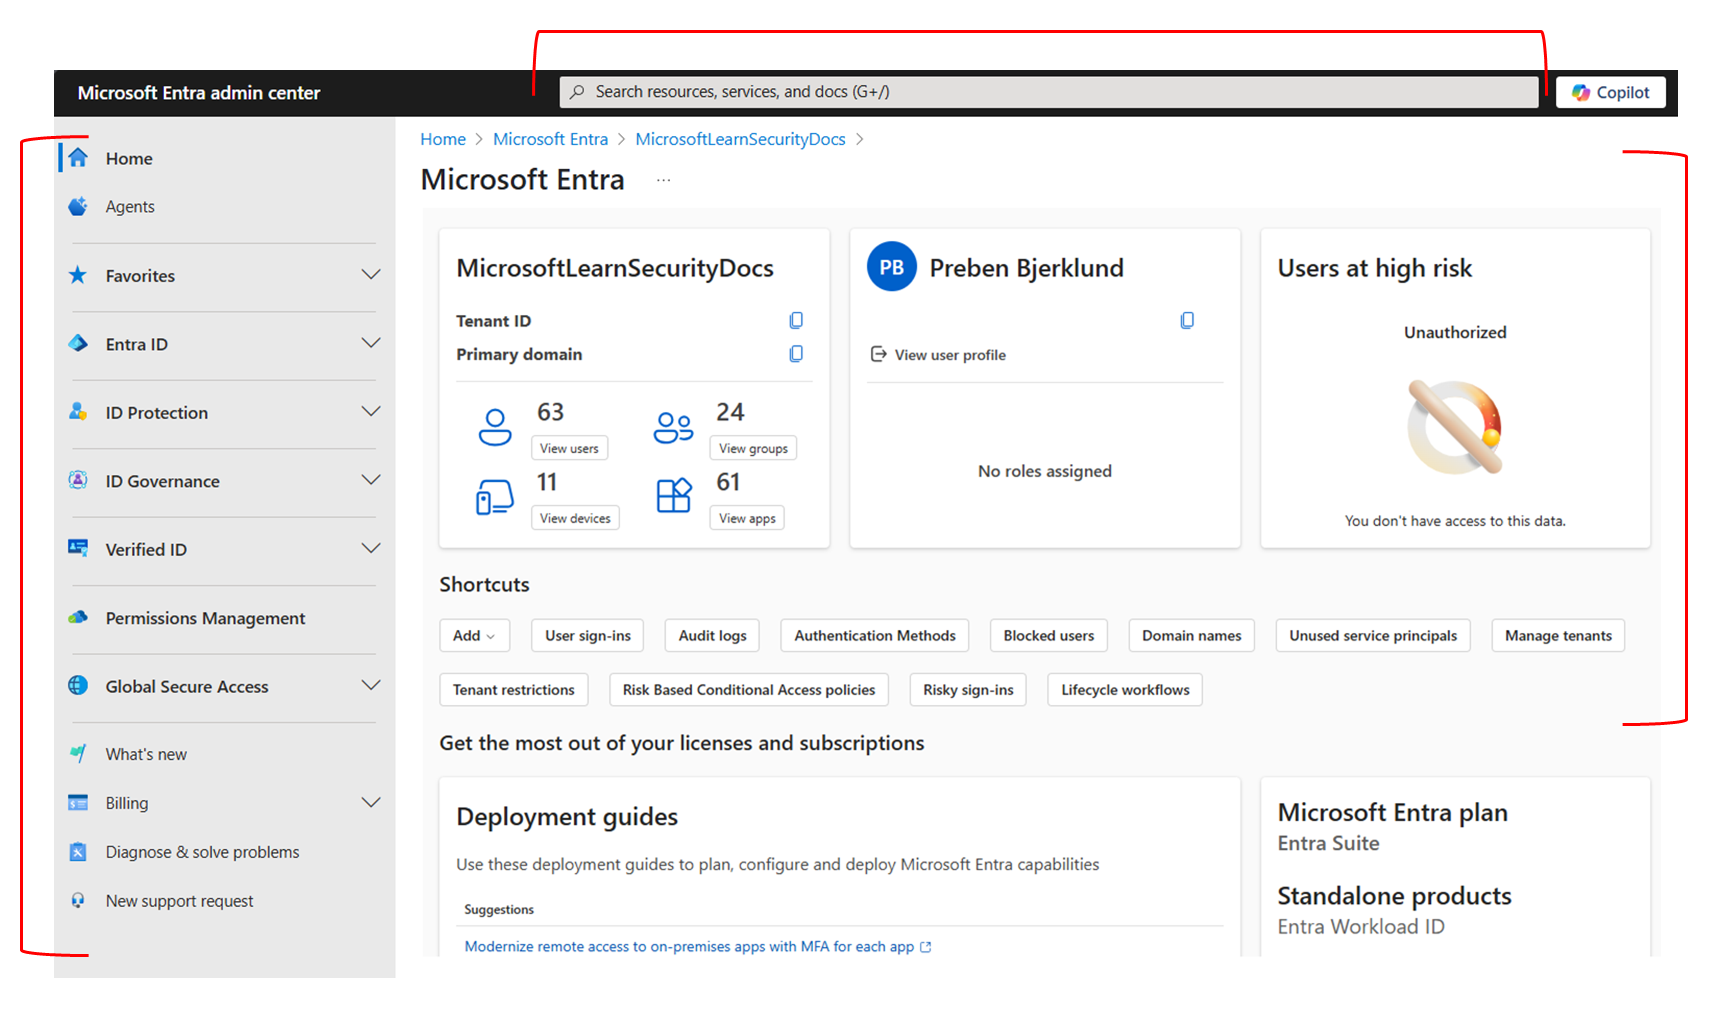
Step 1: Sign in to Microsoft Entra Admin Center
Sign in using a Global Administrator or Security Administrator account
Once signed in, you should land on the Entra admin dashboard.
📸 Screenshot to include:
Microsoft Entra Admin Center – Home Dashboard
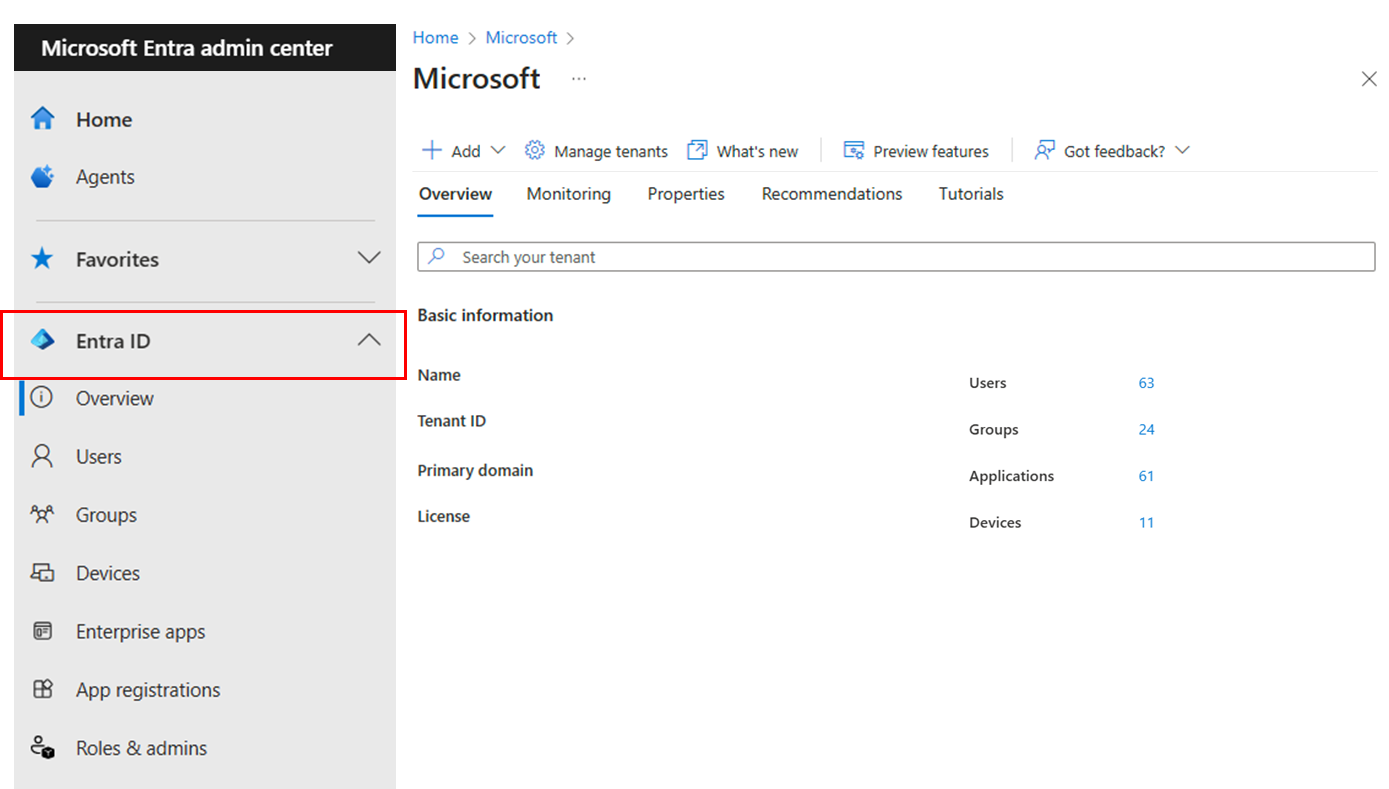
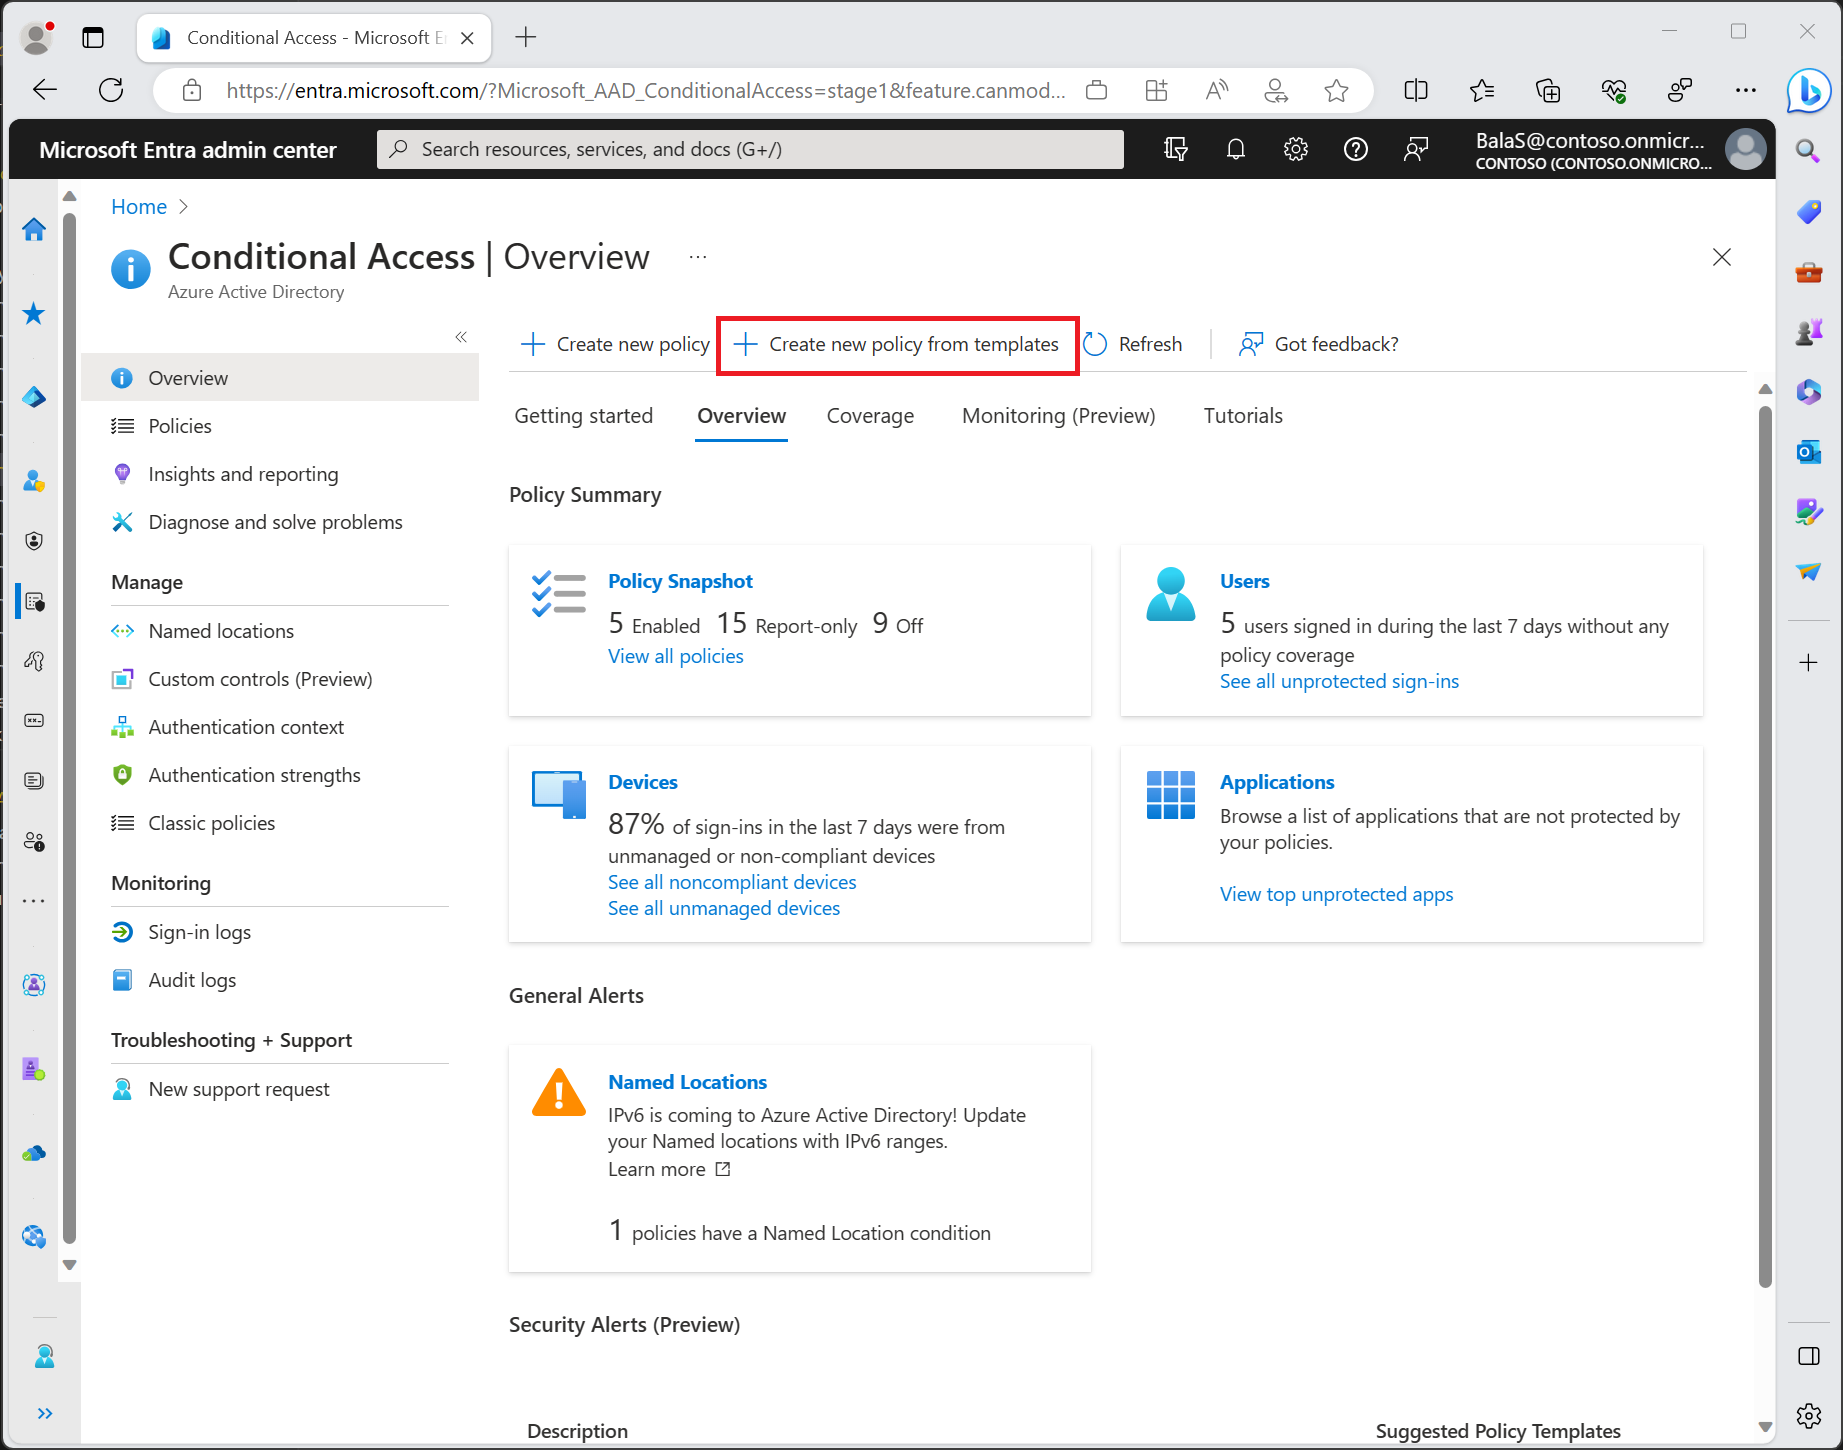
Step 2: Go to Conditional Access Policies
From the left navigation menu, click Protection
Select Conditional Access
Click Policies
Select + New policy
This is where we’ll properly block legacy authentication — not by shortcuts, but by design.
📸 Screenshot to include:
Conditional Access → Policies page
Step 3: Name the Policy Clearly
I always use a simple, descriptive name so it’s obvious what the policy does.
Policy name example:
Step 4: Assign Users (Exclude Break-Glass Accounts)
Under Assignments, click Users
Select Include → All users
Under Exclude, add:
Emergency / break-glass admin accounts
Service accounts (if absolutely required)
⚠️ Never lock yourself out. Always keep at least one break-glass account excluded.
📸 Screenshot to include:
Users and groups assignment with exclusions

Step 5: Target Legacy Authentication
Under Assignments, click Target resources
Select All cloud apps
Then:
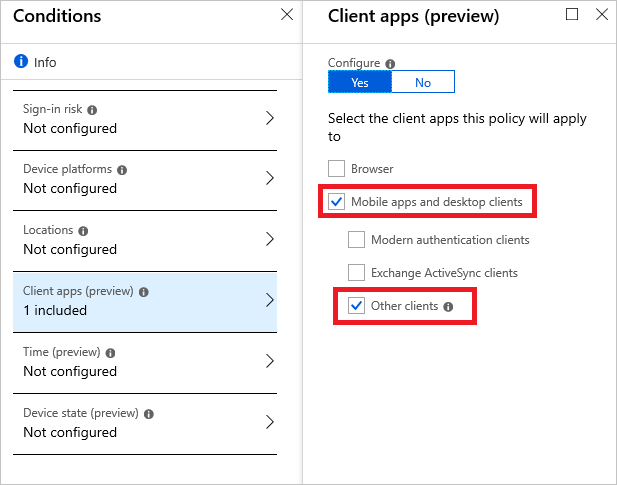
Click Conditions
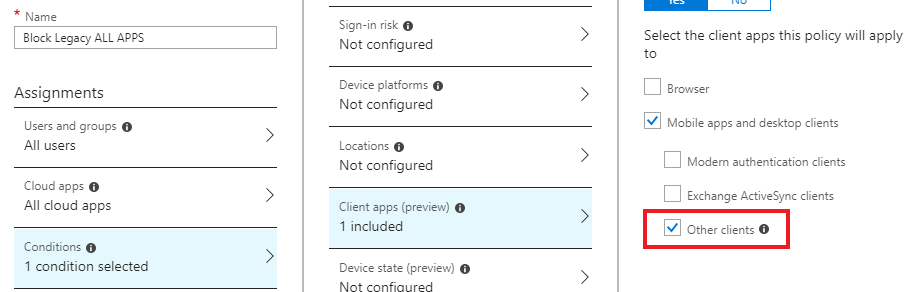
Select Client apps
Enable Configure
Check Legacy authentication clients
Select:
Exchange ActiveSync clients
Other clients
📸 Screenshot to include:
Client apps → Legacy authentication clients selected
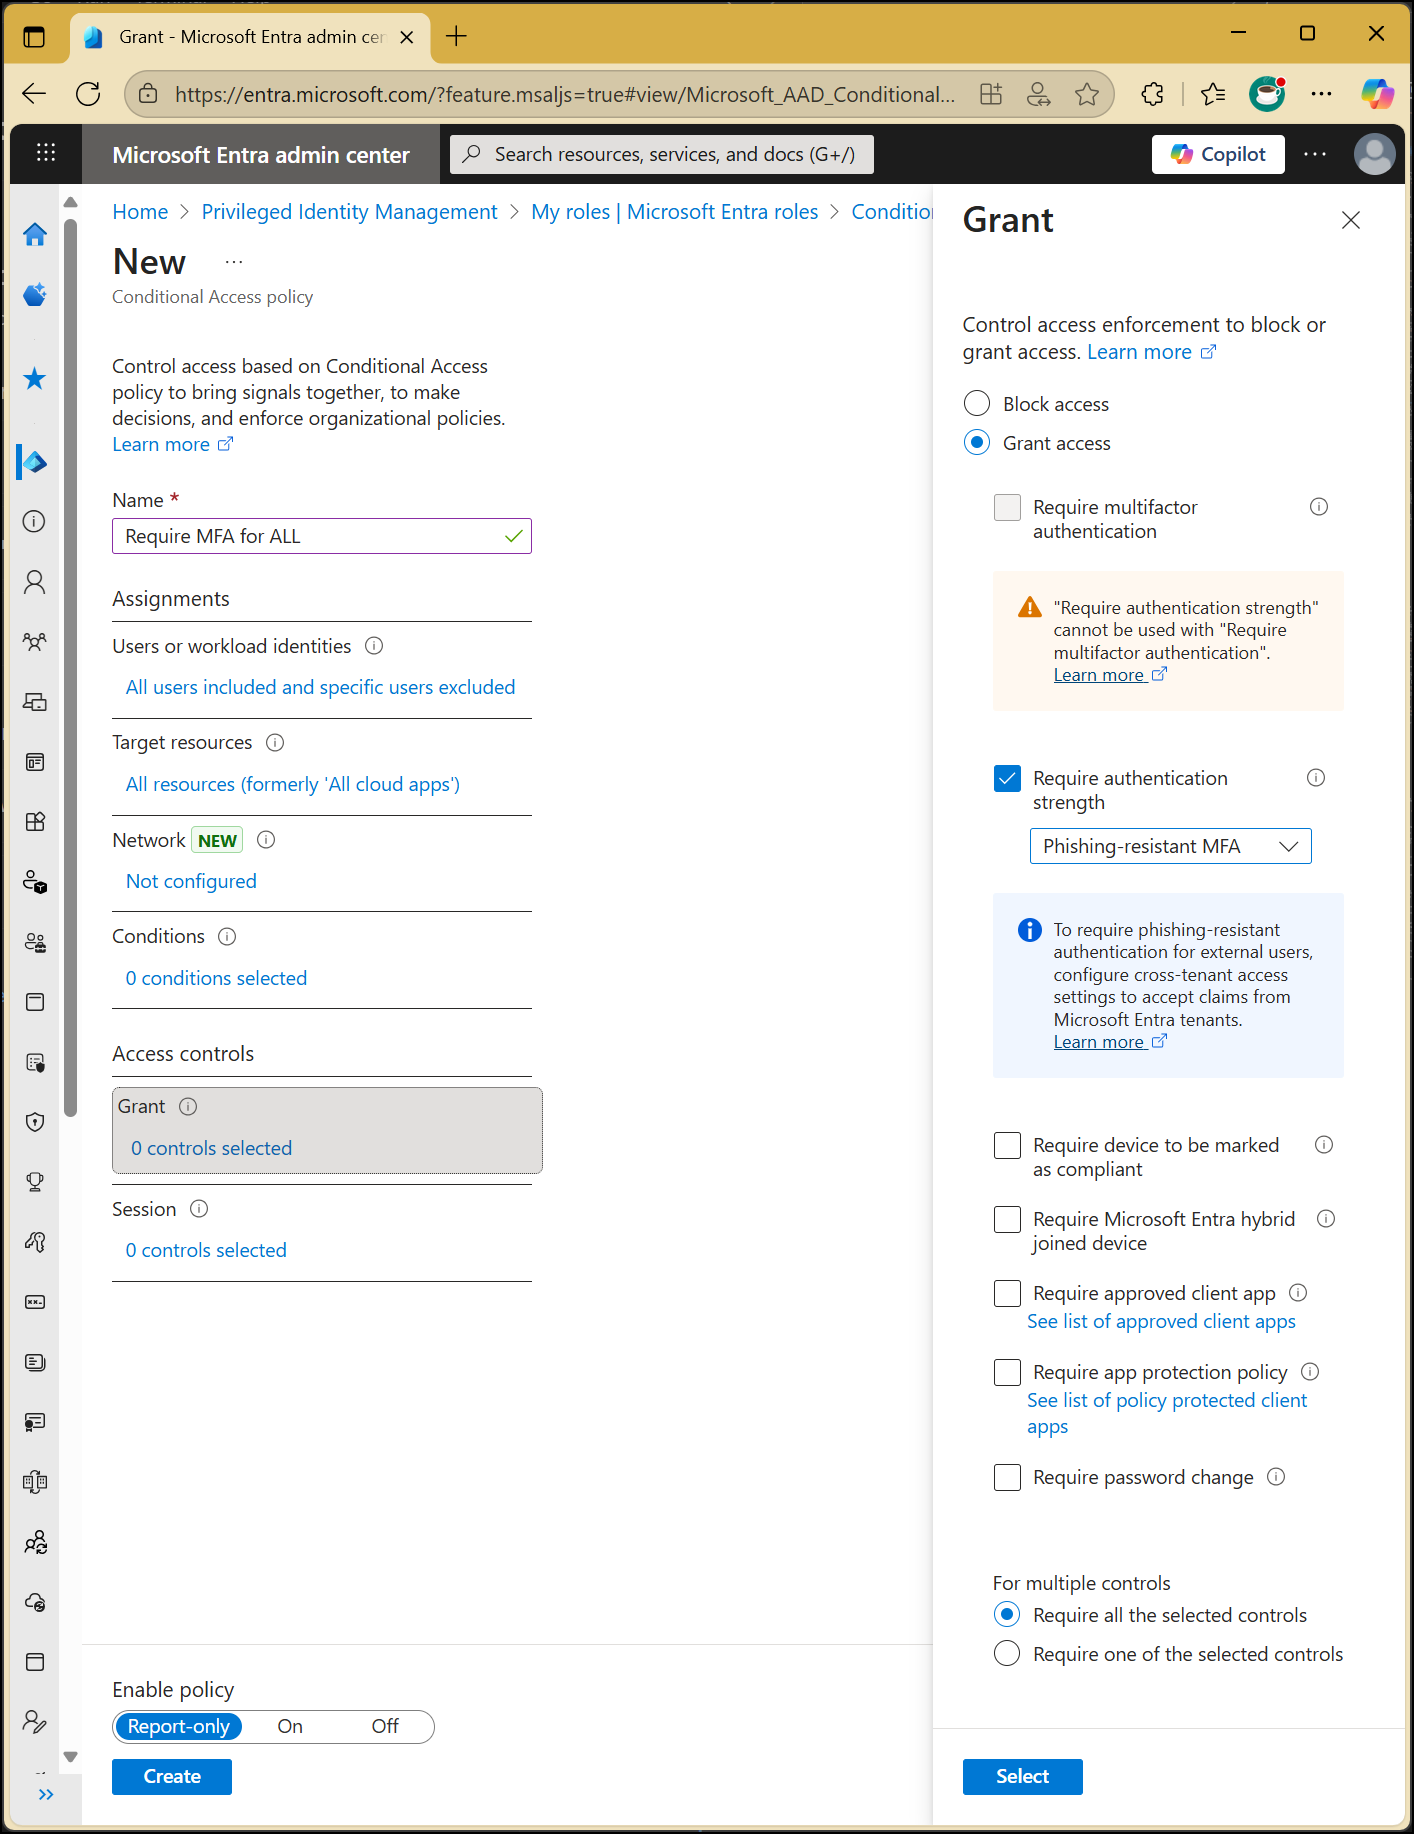
Step 6: Block Access
Under Access controls, click Grant
Select Block access
Click Select
This is the enforcement step — once enabled, legacy authentication is fully blocked.
📸 Screenshot to include:
Grant controls – Block access selected
Step 7: Enable the Policy
At the bottom of the policy:
Set Enable policy to On
Click Create
Your policy is now live.
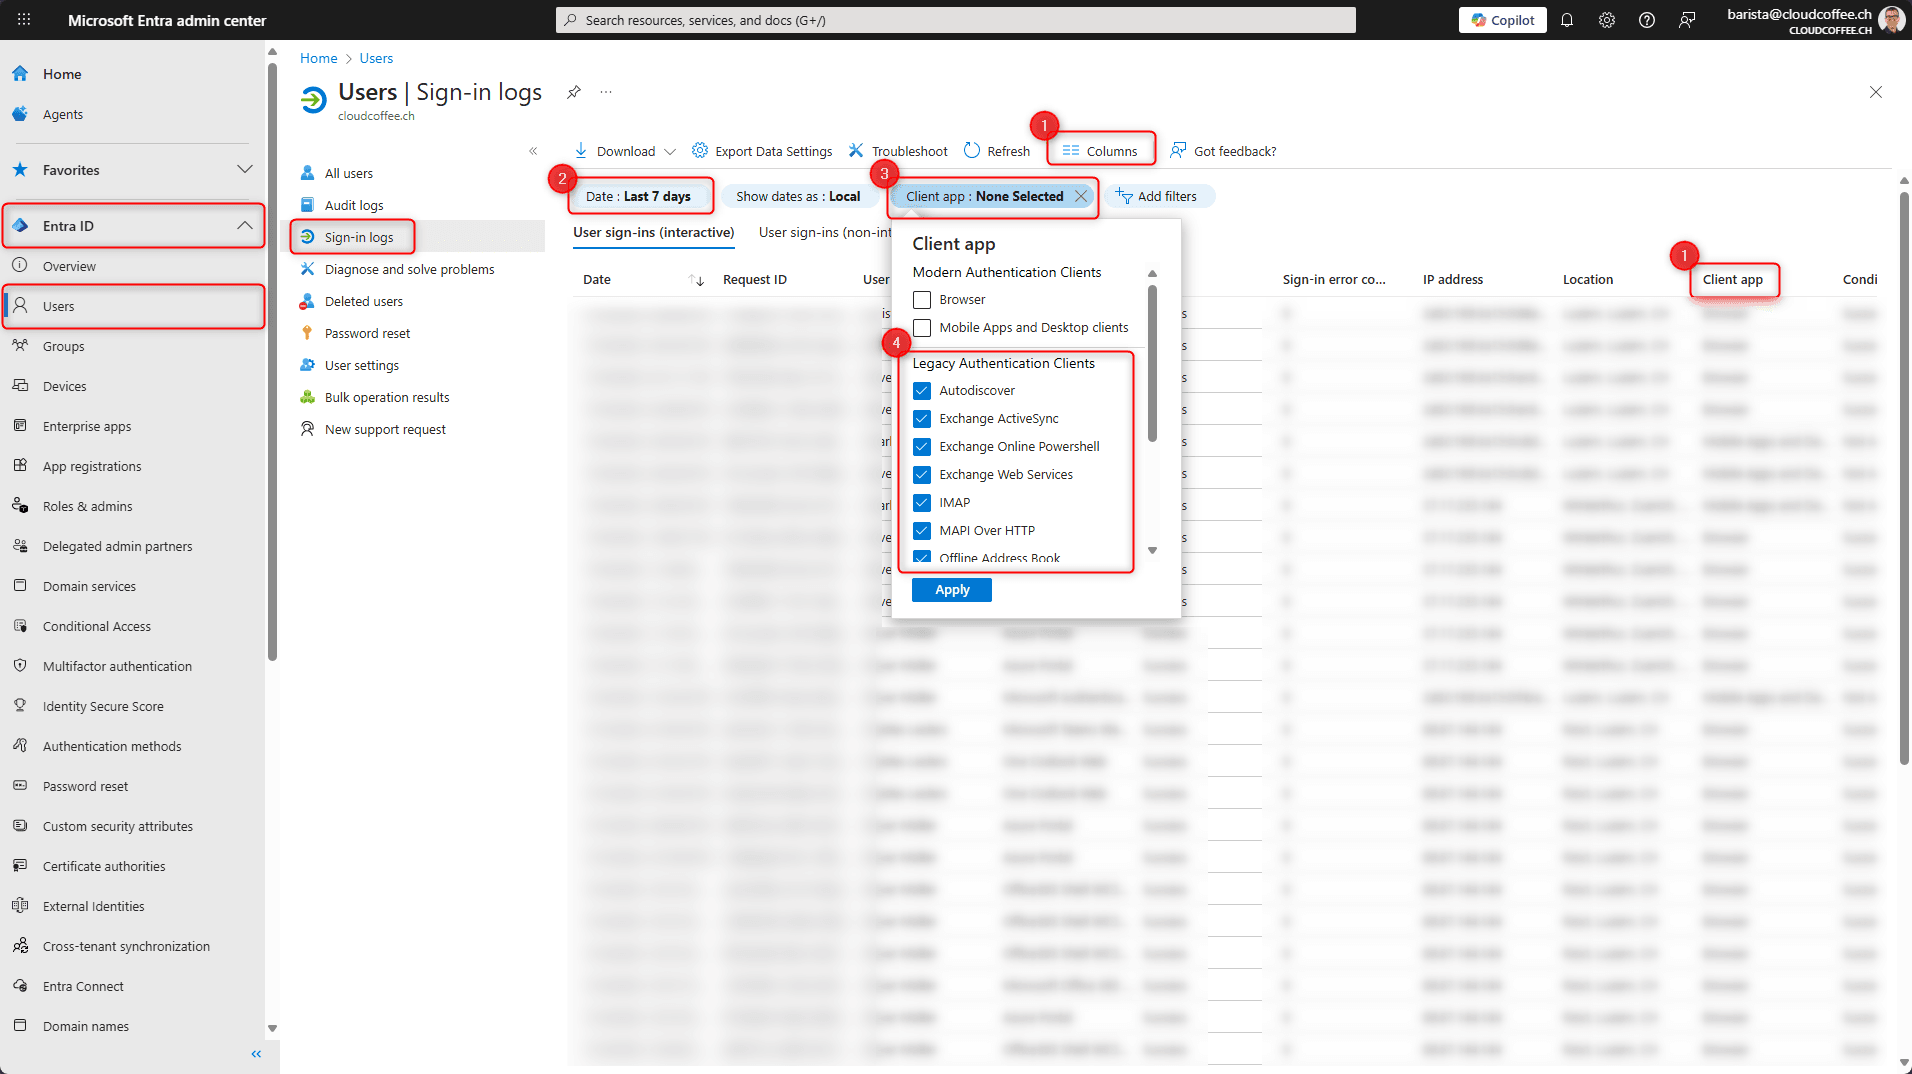
Step 8: Verify Sign-In Logs (Highly Recommended)
After enabling the policy:
Go to Microsoft Entra ID → Monitoring → Sign-in logs
Filter:
Client app = Legacy authentication
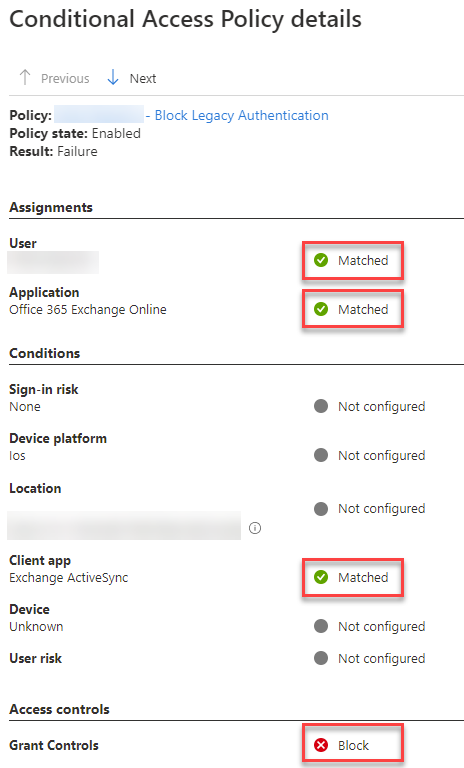
Confirm sign-ins are now Blocked
This is how I confirm the policy is actually doing its job.
📸 Screenshot to include:
Sign-in logs showing blocked legacy authentication attempts
Common Things I Double-Check Every Time
Before closing a tenant review, I always verify:
❌ Security Defaults are disabled (if using Conditional Access)
❌ SMTP AUTH is disabled where not needed
❌ No unnecessary exclusions exist
✅ Break-glass accounts are documented and tested
Final Thoughts
Disabling legacy authentication is one of the highest-impact security changes you can make in Microsoft 365.
It’s quick.
It’s measurable.
And it closes one of the most abused attack paths I see in real environments.
If you haven’t done this yet — do it today.
Written by:
Jaspreet Singh
Author @ ITBlogs.ca
Microsoft & Identity Security Engineer